
Branding is usually the last thing specified and one of the first things a customer notices. It is also where small decisions have outsized consequences: the wrong method on the wrong leather produces a mark that is illegible on day one or gone within a year.
This article covers the main methods, what each costs, and where each works.
Blind embossing
A heated brass die presses the logo into the leather. No colour is added — the mark is made by compressing and darkening the leather itself.
Looks like: a recessed impression, slightly darker than the surrounding surface. Understated, and the most common choice for quiet luxury.
Tooling: one brass die per logo, per size. Reusable indefinitely.
Works best on: vegetable-tanned and other firm, absorbent leathers, which hold a crisp impression and darken attractively under heat.
Struggles on: heavily finished, coated or very soft leathers, where the impression can be shallow or recover over time. Grained leathers can obscure fine detail.
Watch for: fine serifs and small text. Detail below a certain size fills in or disappears. Simplify the mark rather than shrinking it.

Hot foil stamping
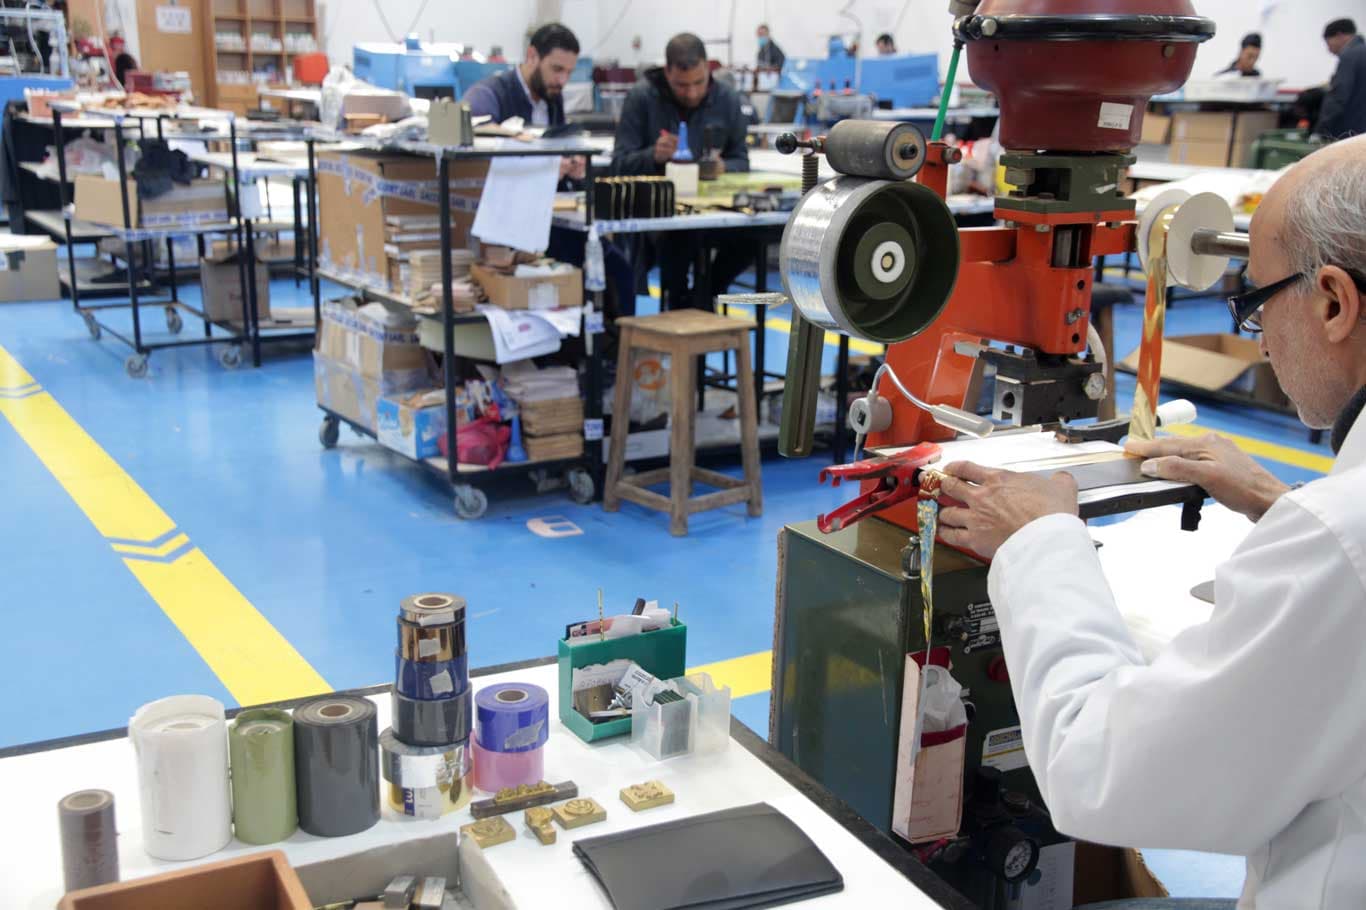
The same principle as blind embossing, with a metallic or pigmented foil laid between the die and the leather. Heat and pressure transfer the foil into the impression.
Looks like: a coloured or metallic mark — gold, silver, copper, black, white, or a matched colour.
Tooling: the same brass dies as blind embossing, so a single die can often do both.
Consider: foil sits on the surface within the impression and can wear over time on high-abrasion areas. Placement matters — a foil mark on an area that rubs against clothing will not last as well as one on a protected panel.
Colour matching: foils come in defined ranges. Matching an exact brand colour is possible but not always perfect, and it is worth testing on the actual production leather rather than approving from a swatch card.
Debossed metal plates
A metal plate carrying the logo is fixed to the product, usually riveted or set into a recess.
Looks like: a distinct hardware element. Higher perceived value, and highly legible.
Tooling: a mould or die for the plate itself, plus setting tooling. The most expensive branding route to originate, and plates carry their own minimum order quantity, often larger than your bag order.
Lead time: the longest of any branding method. Plate development, sampling and production run in series, frequently exceeding the lead time of the product itself. Decide early.
Best for: established brands, or products where the branding is a design feature rather than a signature.
Engraved or embossed hardware
The logo is applied to functional hardware — a zip puller, buckle, turnlock or feet.
Looks like: integrated and considered. Strong signal of a fully developed product.
Tooling: custom hardware moulds. Expensive, with high minimums, and a long development cycle including plating tests.
Cheaper alternative: laser engraving onto stock hardware. Much lower tooling cost and shorter lead time, though the result is a surface mark rather than a formed one.
Labels
Woven labels are stitched into linings or seams. Inexpensive, with modest minimums, and they carry fine detail well. The standard choice for interior branding and care information.
Printed leather patches combine a leather tab with an embossed or foiled mark.
Metal-edged or heat-sealed labels sit between the two on cost and durability.
Labels are also where regulatory information usually lives — material composition and country of origin, depending on the destination market.
Choosing a method
Method | Tooling cost | Lead time | Durability | Suits |
|---|---|---|---|---|
Blind emboss | Low | Short | Very high | Quiet luxury, veg-tan |
Hot foil | Low | Short | Moderate | Visible branding, most leathers |
Metal plate | High | Long | Very high | Established brands |
Custom hardware | Very high | Very long | Very high | Signature hardware |
Laser-engraved hardware | Low | Short | High | Small runs |
Woven label | Low | Moderate | High | Interiors, compliance |
Placement
Placement decisions are as consequential as method.
Test on the production leather. Every leather takes an impression differently. A logo approved on a sample of one leather can look wrong on another colour of the same article, because finish and thickness vary.
Avoid high-abrasion zones for foil and anything surface-applied.
Mind the substrate. Embossing over a seam, a fold or an area with backing behind it produces an uneven impression. The panel needs to be flat and evenly supported.
Specify position numerically. "Centred on the front panel" is ambiguous. Give measurements from defined edges, and put them in the tech pack.
Check the reverse. Deep embossing on thin leather can show through.

Practical sequencing
- Finalise the logo artwork as vector files before tooling is made
- Approve a strike-off — a test impression on the actual production leather — before production
- Order long-lead items such as plates and custom hardware first
- Keep dies stored and identified; they are reusable and cheap to keep, expensive to remake
Where to go from here
The most common branding mistake is deciding it late. Method, tooling and placement all interact with the product's construction, and the cheapest time to resolve them is during development.
Our guide to hardware selection covers the functional side. If you have artwork and want to know how it will sit on a specific leather, send it to us — a strike-off answers the question faster than a discussion.